
Create a stunning DIY heart-shaped floral artwork just in time for Valentine’s Day. This easy, stylish craft transforms your living room with romantic décor—from the handmade floral centerpiece to soft, cozy accents. Perfect for beginners and craft lovers alike.
Valentine’s Day is almost here, and it’s the perfect excuse to add warmth, charm, and a touch of romance to your home. Whether you’re planning an intimate evening or simply love seasonal décor, crafting your own heart-shaped floral artwork is a beautiful way to bring creativity and emotion together.
This project is simple enough for beginners yet stunning enough to take center stage in your living room. With just a few materials and a bit of inspiration, you can create a personalized piece that becomes the highlight of your Valentine’s Day décor.

Why Choose a DIY Floral Heart for Valentine’s Day?
Handmade décor has a certain magic to it. When you craft something yourself, it immediately carries more emotional value than anything mass-produced. This project is especially rewarding because:
- It naturally fits Valentine’s Day themes
- It’s customizable to your style and color palette
- It creates a strong visual impact with minimal materials
- It can be reused year after year
- It’s surprisingly easy—even for beginners
A floral heart is one of those pieces that looks far more expensive than it actually is. It also works beautifully with a variety of interior styles—romantic, modern, vintage, minimalist, or even glam.
Most importantly, it allows you to slow down and enjoy the creative process, which is exactly what so many craft lovers treasure: the act of making something with intention.
Materials You’ll Need to Create Your Heart-Shaped Floral Masterpiece
Before starting, gather the following supplies. Don’t stress if you need to substitute a few items—this project is very forgiving and easy to adapt.
- Foam board or a canvas. Choose a sturdy foam board for a lightweight option or a blank canvas for a more polished look. The size depends on your space, so pick one that complements your living room décor.
- A heart-shaped stencil or template. Use a pre-made stencil or create your own template by cutting a heart shape out of paper or cardboard. This ensures your design is even and symmetrical.
- Faux Flowers in Pink, Blush, and Red: Select a mix of high-quality faux flowers in shades of pink, blush, and red. Consider a variety of sizes and flower types, such as roses, peonies, and hydrangeas, to add texture and depth.
- Hot Glue Gun and Glue Sticks: A hot glue gun is essential for securely attaching your flowers. Be sure to have enough glue sticks on hand to complete the project.
- Scissors. Use a sharp pair of scissors to trim stems or adjust flower sizes for a perfect fit.
- Acrylic Paint in Soft Colors (Optional): If you’re using a canvas or want to add a background color to your foam board, choose soft hues like blush pink or pastel tones to enhance the romantic aesthetic.

Step-By-Step Guide to Creating Your DIY Heart-Shaped Floral Art
This project is wonderfully adaptable, but following the steps below will make the process smooth, enjoyable, and visually consistent.
Step 1: Prepare Your Base
Start by tracing or outlining your heart shape.
- If using foam board, cut along the outline carefully using sharp scissors or a craft knife.
- If using a canvas, leave the outer shape as-is but lightly sketch a heart outline in pencil.
Next, decide whether to paint your base. Painting enhances the overall look, especially if there are small gaps between flowers. Choose soft, romantic hues that complement your floral palette. Let it dry completely before moving on. Taking the time to prepare the base ensures your final piece looks polished and intentional.
Step 2: Pre-Arrange Your Flowers
Before gluing anything down, lay out your flowers on the heart shape like a puzzle. This planning step:
- Ensures balance in color distribution
- Helps you avoid overly crowded areas
- Lets you experiment with gradients or clusters
- Gives you a chance to adjust flower sizes
Try positioning larger blooms first—they form the visual “anchors” of your design. Then add medium flowers around them, followed by smaller filler blooms to create depth. Once you’re happy with the arrangement, snap a quick photo with your phone. This acts as a guide when you start gluing.
Step 3: Glue the Flowers in Place
Work from the edges inward. This method keeps the heart shape crisp and defined.
- Apply hot glue to the back of each flower
- Press and hold for a few seconds
- Continue layering following your layout photo
- Add small blooms or leaves to fill any gaps
Take your time during this step. The beauty of the final result lies in the density and evenness of the floral coverage. Rotate your piece occasionally to check symmetry and adjust where needed.
Step 4: Add Finishing Touches
Once the glue has set:
- Look for empty spaces
- Adjust any misaligned flowers
- Trim pieces sticking out awkwardly
- Add greenery if you want contrast
Your artwork should look full, lush, and dimensional. The heart shape should be clear and crisp at first glance. Now you’re ready to display your beautiful creation!

How to Style Your Living Room Around Your DIY Floral Art
Once your artwork is ready, it’s time to enhance the rest of your living room with subtle romantic accents that perfectly complement your DIY masterpiece. These small changes can create a cohesive and inviting ambiance, adding a touch of warmth and elegance to your space.
Soft Romantic Touch #1: Pink Cushion Covers
Refresh your seating by replacing standard cushion covers with ones in soft pink or blush tones. Opt for plush fabrics like velvet for a luxurious feel, or choose covers with romantic patterns such as florals, delicate embroidery, or lace details.
Layering various textures and shades of pink can also add depth and visual interest to your seating arrangement. Whether you prefer solid colors or intricate designs, these cushions will introduce a subtle romantic vibe to your living room.
 |
 |
 |
 |
| Shop Here | Shop Here | Shop Here | Shop Here |
Soft Romantic Touch #2: Fresh or Faux Flower Arrangements
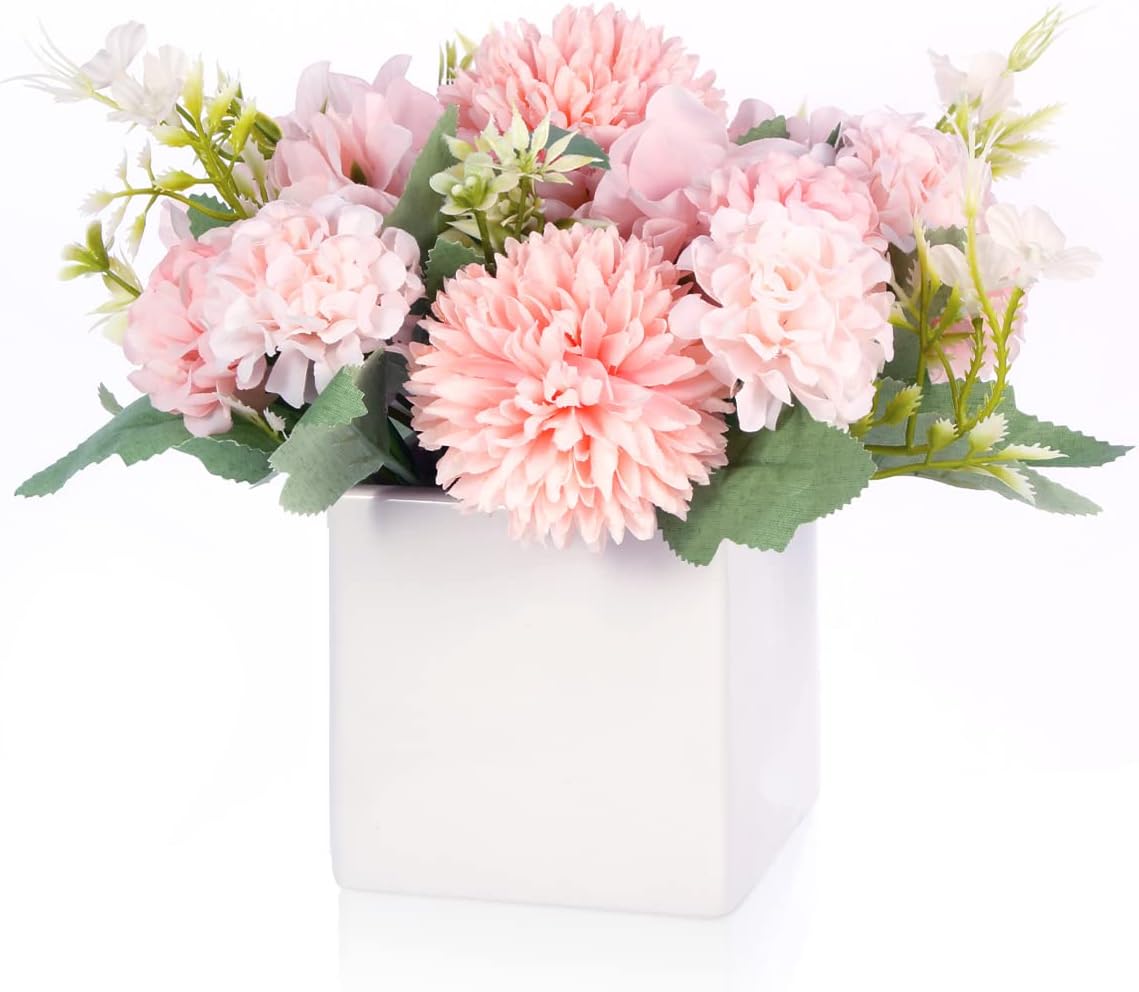
Bring life and romance to your space by adding fresh or high-quality faux flowers. Arrange vases filled with classic blooms like roses, peonies, or carnations on your coffee table, mantel, or side tables.
For an even more elegant touch, choose vases in soft pastel hues or metallic finishes like rose gold. Seasonal arrangements or monochromatic bouquets in pink and white tones can create a seamless look that ties your room together beautifully.
 |
 |
 |
 |
| Shop Here | Shop Here | Shop Here | Shop Here |
Soft Romantic Touch #3: A Cozy Area Rug
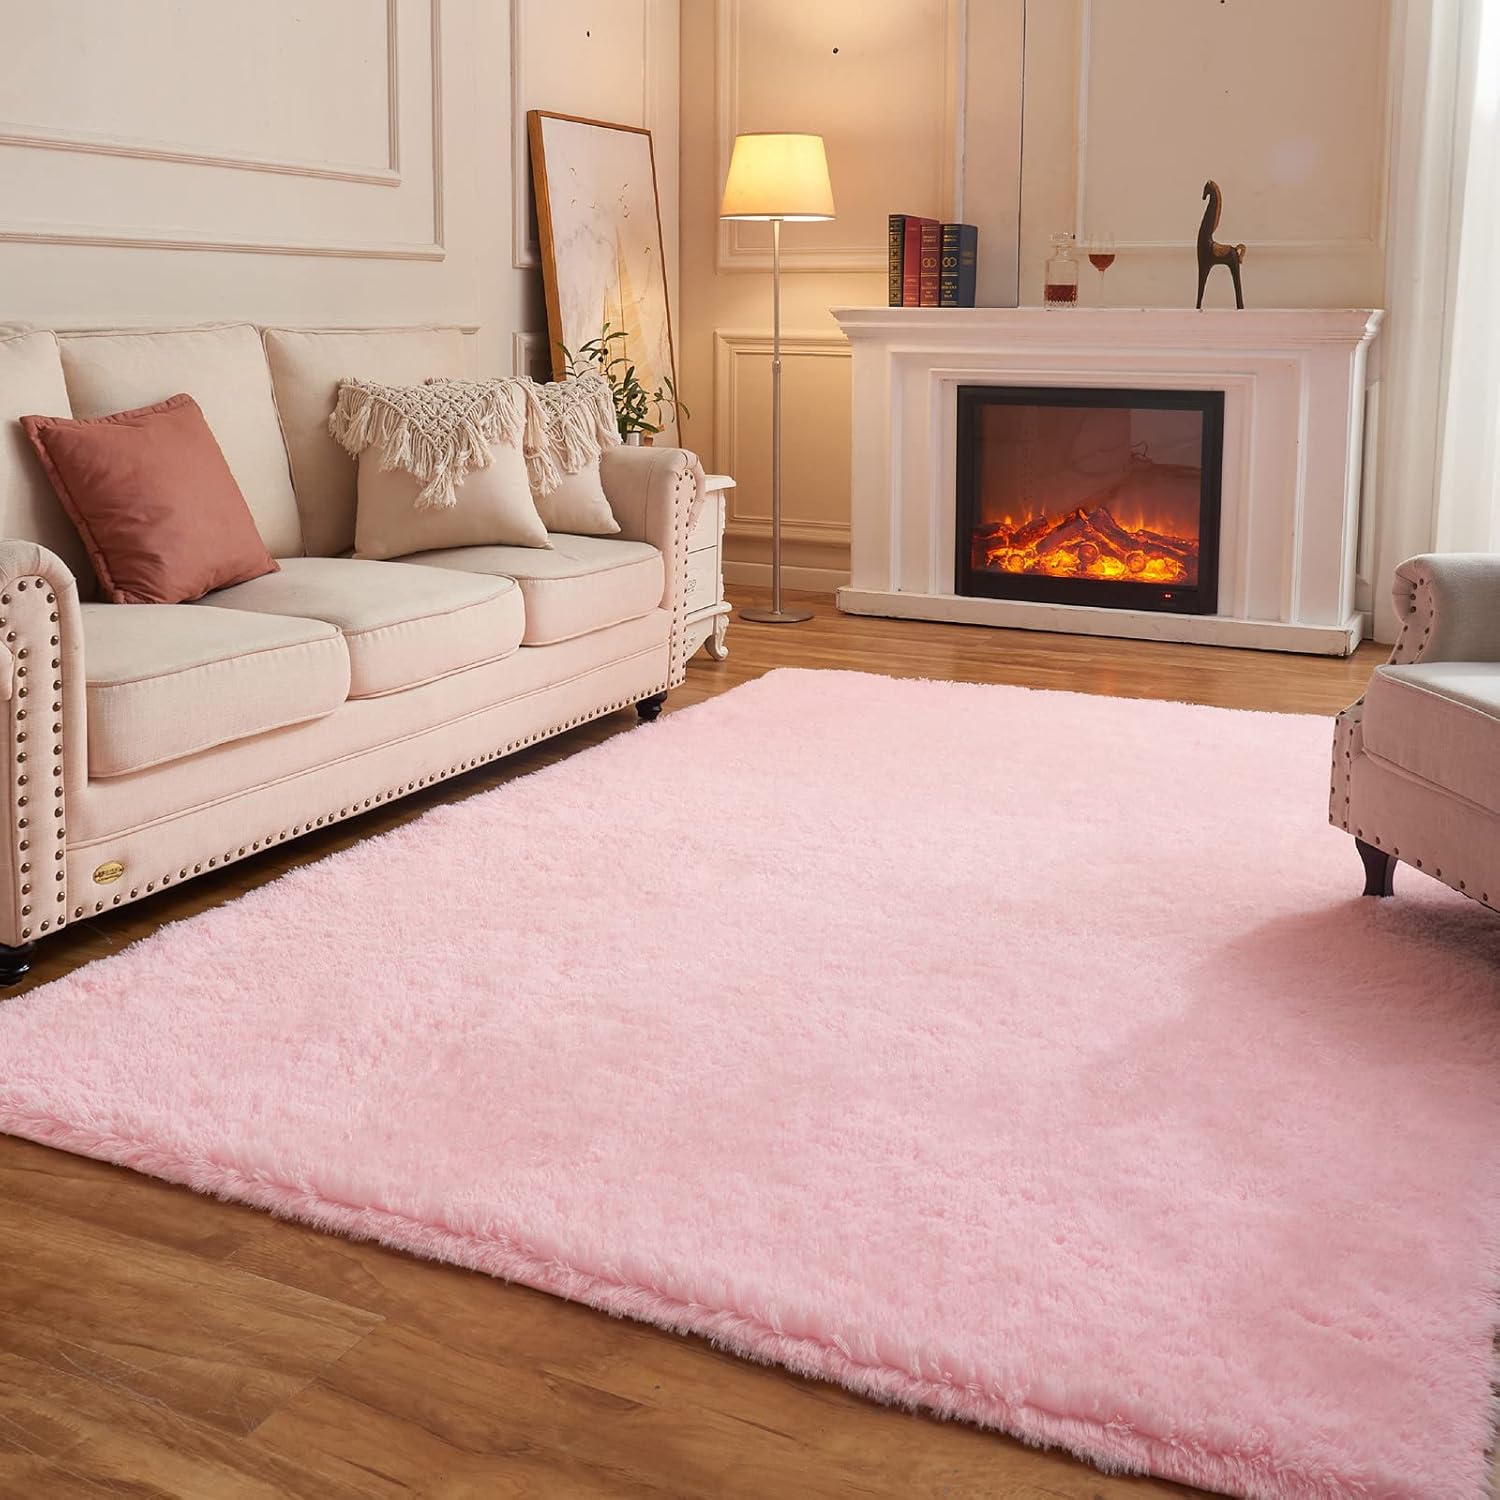
Anchor your living room with a cozy rug that enhances the romantic theme. Consider pastel shades like blush, cream, or soft gray, or go for rugs with subtle floral patterns, abstract swirls, or intricate designs.
A pink and white area rug, especially one with a plush or shaggy texture, can add warmth and charm to your space. Position the rug to define seating areas and provide a soft surface that encourages relaxation.
 |
 |
 |
 |
| Shop Here | Shop Here | Shop Here | Shop Here |
With these thoughtful additions, your living room will transform into a romantic and inviting space that complements your DIY artwork, making it a place you’ll love to unwind and entertain in.
Why This DIY Project Shines
This DIY heart-shaped floral art project is a perfect blend of simplicity, creativity, and elegance, making it a standout piece for your Valentine’s Day décor. Its straightforward design allows even beginners to create a visually stunning masterpiece with minimal effort and materials.
The timeless heart shape, paired with the soft, romantic hues of pink, blush, and red flowers, creates a bold yet harmonious focal point that instantly elevates the ambiance of any space.
Beyond its aesthetic appeal, this project shines because it carries a personal touch, reflecting the time and care you’ve invested into crafting it. Unlike store-bought decorations, this handmade art piece is uniquely yours, adding a layer of warmth and sentimentality to your home.
When paired with complementary accents—such as cozy blush-toned cushions, fresh floral arrangements, and a soft area rug—this DIY artwork transforms your living room into a romantic retreat. It’s a perfect way to celebrate love while showcasing your creative flair, making your home feel inviting, elegant, and filled with heartfelt charm.


